How to Install Zeetaminds Digital Signage App in Hisense Android Display?
Step 1: Download App
Download APK :
Step 2: Configure Network and Date/Time
- To configure the network, press the Home button on the remote, go to Settings → Network and add your network.
- To set the Date/Time, press the Home button on the remote, go to Settings → System → Time and date enable Network Synchronization.
Step 3: Install App
USB Drive Method
- On your computer, go to the download URL and download the installer app.
- Save the installer app(zminstaller.apk) to a USB drive.
- Plug the USB drive into your display.
- On the home screen, open File Manager from the Apps section.
- Select USB storage.
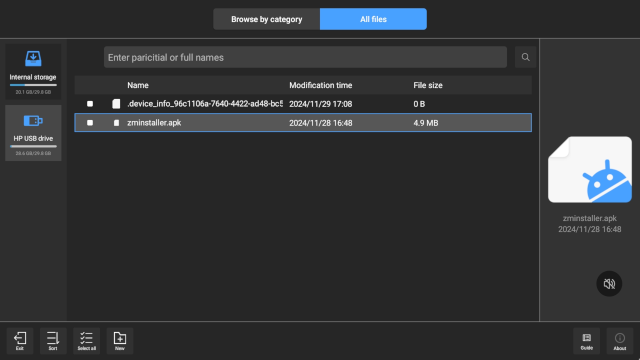
- Double-click the installer app file(zminstaller.apk) to install it.
After Installation
- Open the installer app.
- When prompted, grant overlay permission (as shown in the picture).
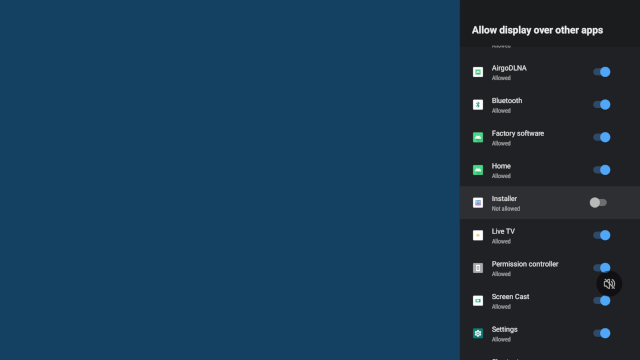
- The installer app will download and install the signage player app automatically.
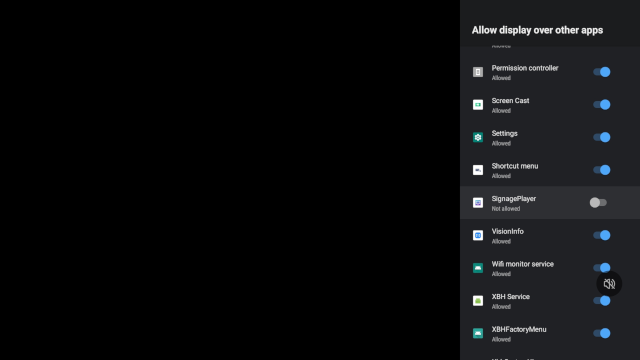
- Open the signage player app and grant overlay permission for it (as shown in the picture).
Step 4: Launch App
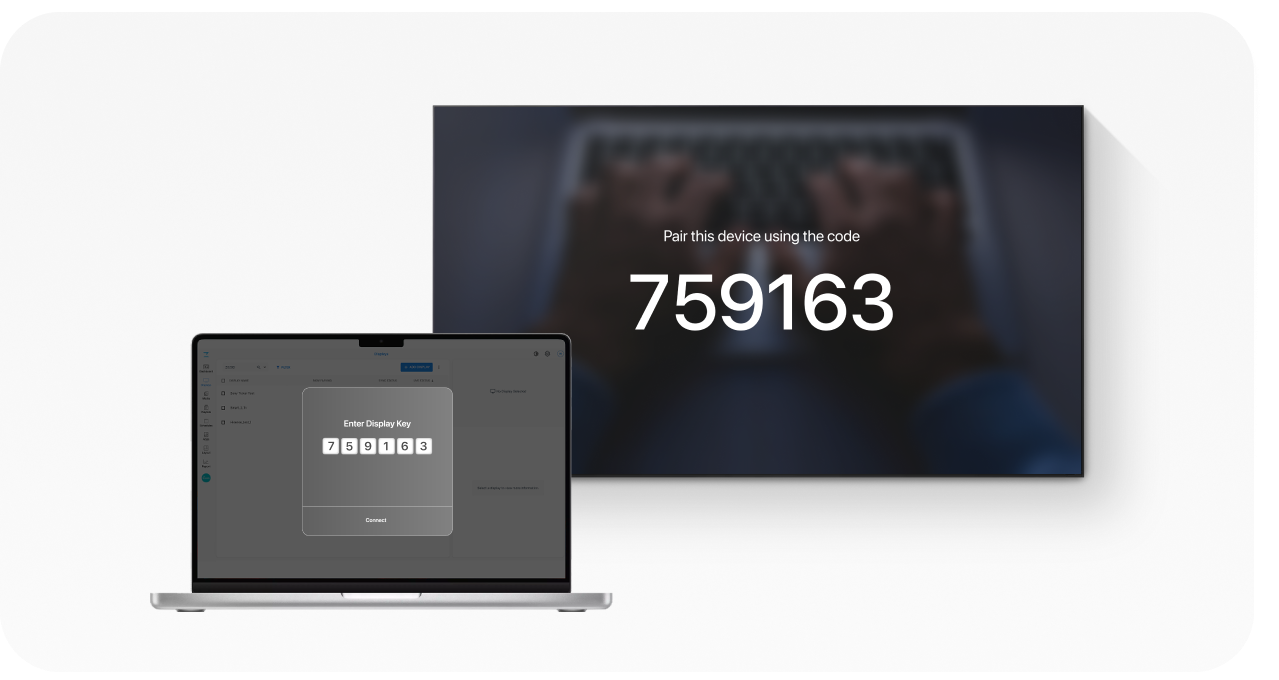
When you launch the app, you will be presented with security key as shown above. This security key is needed to add a display in the CMS.
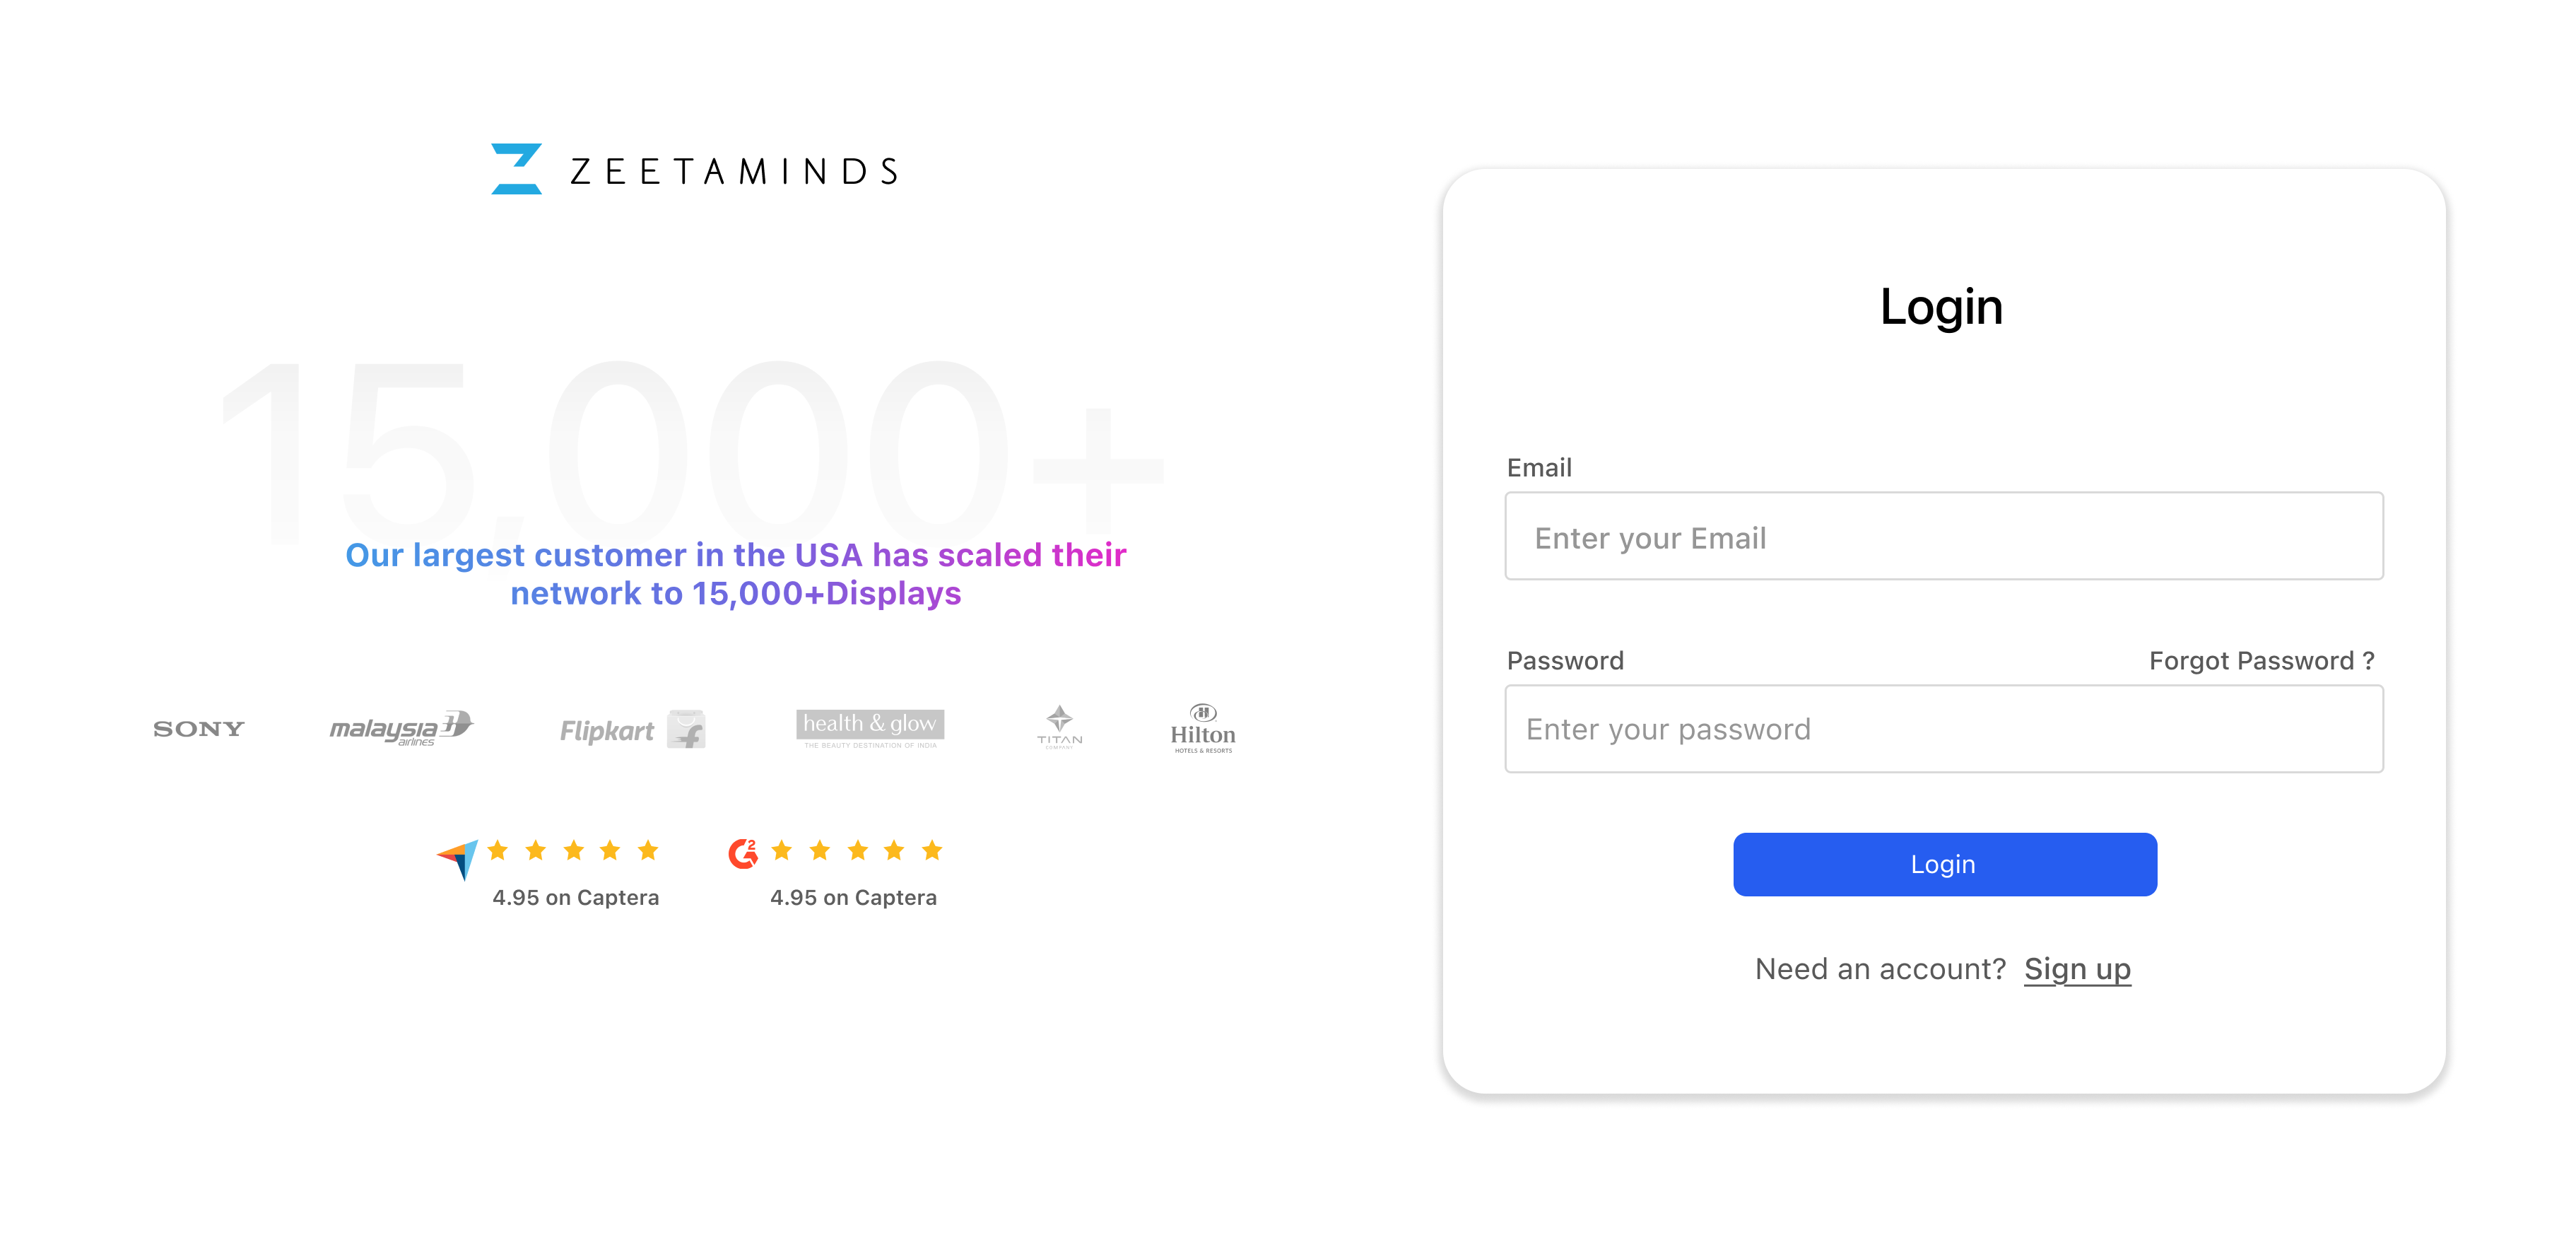
Step 5: Login
Step 6: Setup
Customer Voices
”
Most reliable Digital Signage Software out there.
Ranjit
Owner, Grandis Media


